
Table of Contents
Creating a Data Model
- Action: From the form page, click on the ‘Define Data Model’ Button.
- Action: Providing Data Model information:
- Enter a name for the Data Model in the “Data Model Name” field.
- Select the Main Object for the Data Model from the “Main Object” dropdown list.
- Note: Once saved, the Main Object of a Data Model cannot be changed.
- Action: Click “Save and define Data Model”.
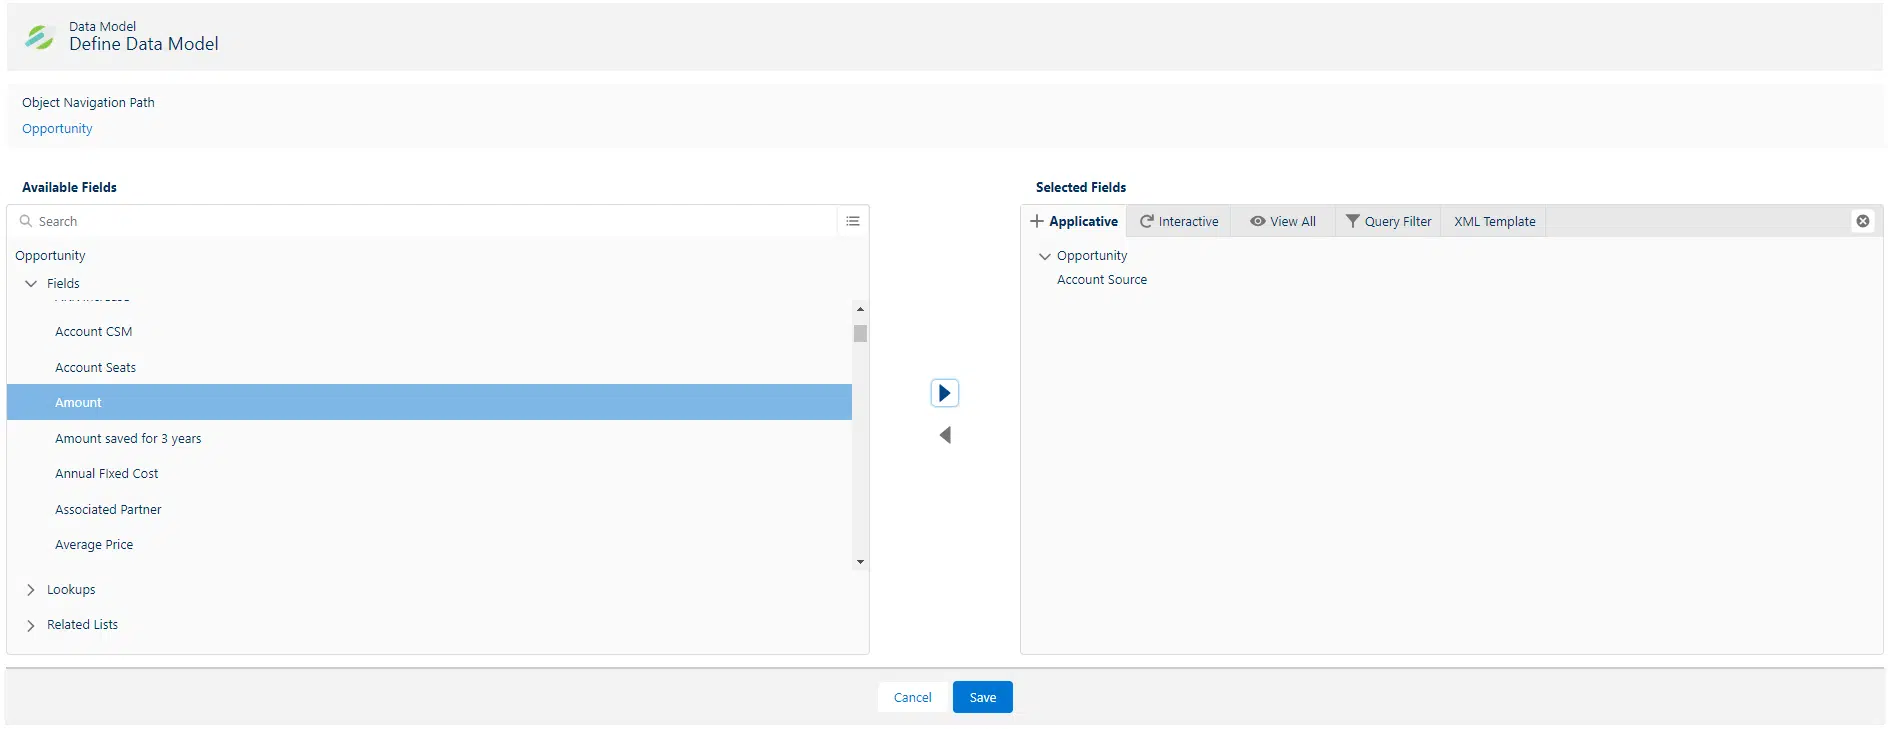
Data Model Window Overview
Left Side – Available Fields: On the left side of the Data Model window, you’ll find the “Available Fields” pane. These fields are sourced from the main object you’ve defined. By utilizing Lookups or exploring the ‘Related Lists’ options, you can drill down to discover additional fields. Keep in mind that as you navigate through these fields, the Object Navigation Path at the top left corner dynamically changes. Easily follow this path by clicking on the listed objects.
- Notice that in the designer, 'Related Lists' data tags are identified by a blue 'T', while Lookups data-tags appear in a different branch.
Right Side – Selected Fields: On the right side, under the “Selected Fields” pane, you’ll find the fields that have been added to the data model. Notice the five available tabs under ‘Selected Fields’:
Applicative Tab:
- Adding a field to the “Applicative” tab allows you to tag the field in your form and use Salesforce Field values in the output.
Interactive Tab:
- Adding a field to the “Interactive” tab allows you to tag the field in your form and use it as an interactive field, enabling dynamic interaction with the form.
View All Tab:
- The “View All” tab displays all added fields in a comprehensive list format, providing a clear overview of the entire data model structure with numbering.
Query Filter Tab:
- The “Query Filter” tab allows you to apply logical conditions to query a specific subset of data from related lists. This feature enhances the precision of data retrieval based on specified conditions.
XML Template Tab:
- The “XML Template” tab presents each selected field in XML format.
Adding Fields to the Data Model
- Action: On the Define Data Model page:
- Select fields from the “Available Fields” pane, by clicking on them.
- Select the proper tab (Applicative or Interactive) on the left window.
- Note: Fields with the locked symbol cannot be added as interactive.
- Click the right-pointing arrow.
- The selected fields are removed from the “Available Fields” pane, added to the “Selected Fields” pane in the chosen tab, and incorporated into the Data Model in a parent-child tree format (refer to the “View All” tab).
- Once you complete adding the fields, click Save.